
Tools and materials
The patterns on this site are checked geometrically; cutting them well still depends on ordinary tools. Below is the toolkit referenced throughout the guides, linked through the Amazon Associates program. As an Amazon Associate this site earns from qualifying purchases. These are not paid placements and none of the specific products below have been tested by this site; they are the general categories of tool a stained glass beginner needs, described without claiming to have used any particular one.
- Glass cutter: scores the glass along the traced pattern line before breaking.
- Running pliers: apply even pressure along a score line to break it cleanly.
- Wet glass grinder: cleans up the break line and shapes the piece to its exact traced outline.
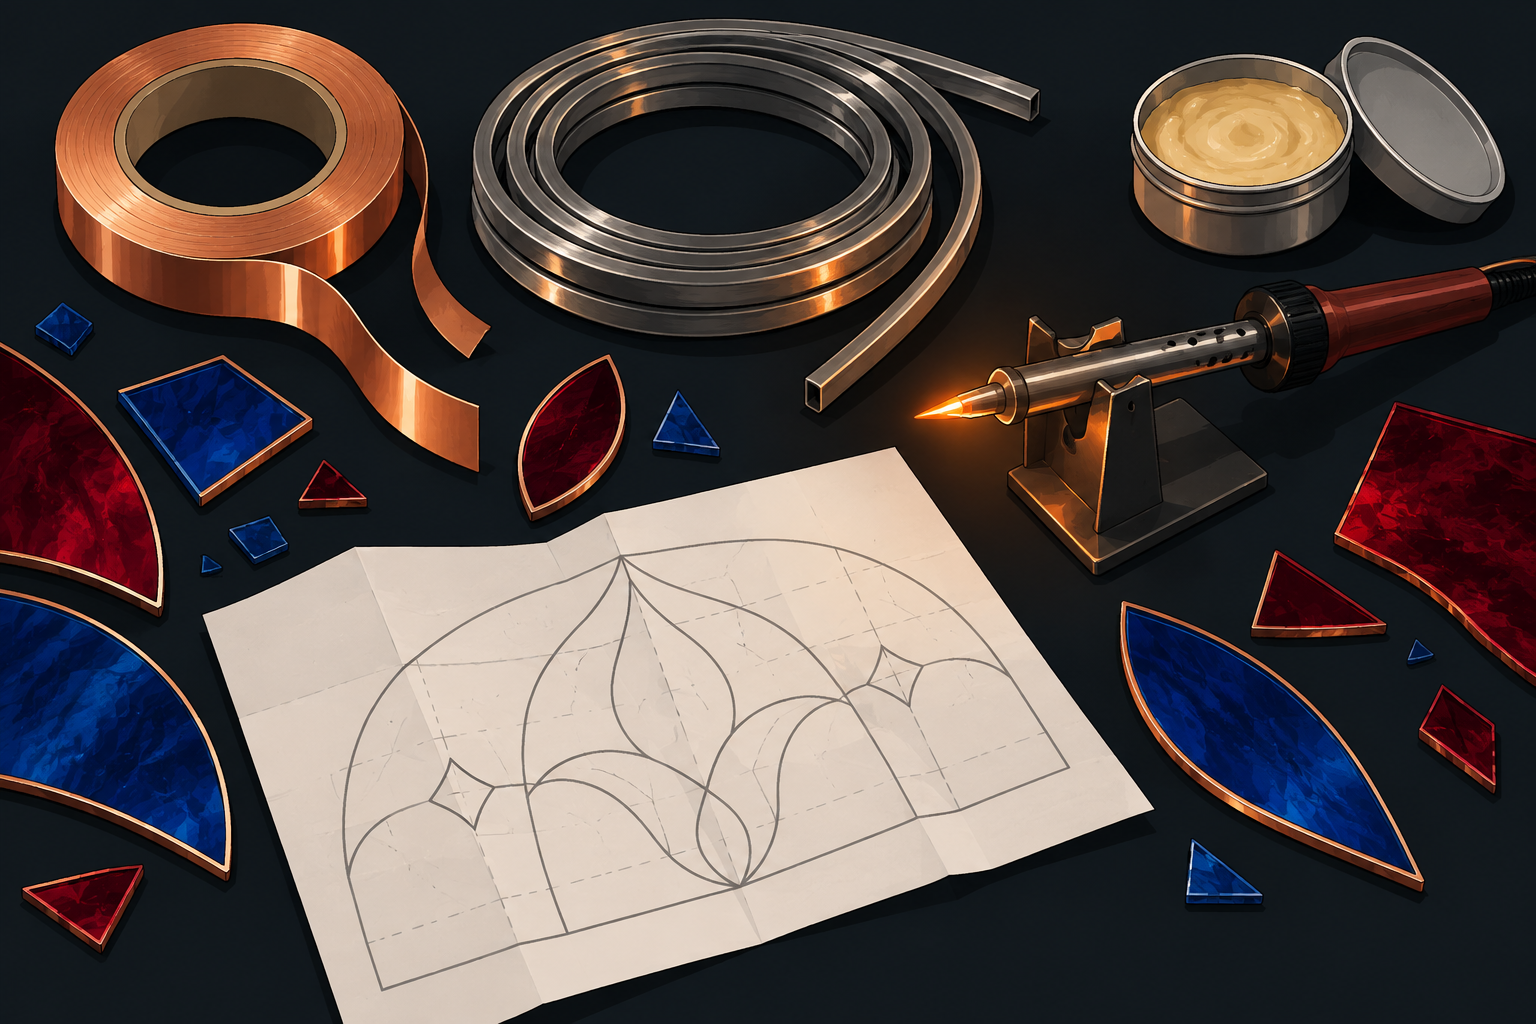
- Copper foil tape: wraps each piece edge before soldering, for the copper foil technique.
- Soldering iron: a wide chisel-tip iron, typically around 100 W, for running an even solder bead along foiled seams.
- Flux and flux brush: prepares the foiled or came seam so solder flows evenly.
- Lead came: grooved lead strip for the came technique, sized to the panel's cutting-margin pattern.
See the beginners guide for how each tool is actually used, step by step.
The tools that actually change results
- A pistol grip or pencil cutter with a fresh wheel and an oil reservoir: a dull wheel is behind most bad breaks
- Running pliers for straight breaks and grozing pliers for nibbling to the line
- A wet grinder with a standard head, plus a smaller head for inside curves
- Copper foil in two or three widths, since one width does not suit both large and small pieces
- A temperature controlled iron, flux, flux brush, and 60/40 solder for foil work
- For came: lead knife, horseshoe nails, a lead vice and cement for finishing
What can wait
A light box, a foil crimper, patina, and a second grinder head are all worth having eventually and none of them is needed for a first panel. Spend the money on a good cutter and a grinder before anything else: those two decide whether pieces fit, and everything else is finishing.
About these links
Links go through the Amazon Associates program, which pays a small commission on qualifying purchases at no extra cost to you. Nothing here is a paid placement, and no brand is required by any pattern on this site.
Set up the bench before cutting
Good cutting starts with a flat bench that does not rock. For small panels, a working area of about 900 mm by 600 mm is enough, but leave another 300 mm clear on one side for sorted pieces. Cover the cutting area with short pile carpet, cork, or a firm cutting mat so small glass chips do not hold the sheet unevenly.
Keep the pattern, the glass, the marker, the cutter, and the breaking tools in a fixed order. Right handed workers usually place the glass sheet in the center, the cutter to the right, and the pliers above the sheet. Left handed workers can mirror this. The point is to avoid reaching across scored glass.
- Clean the glass with a dry cloth before marking, because grit can lift the cutter wheel and interrupt the score.
- Mark only the face you will cut, then keep that face upward until the break is complete.
- Cut the easiest outside curves and straight lines first, then move to tighter curves after the sheet has less weight around the piece.
- Put each finished piece on the paper pattern immediately, with the same face upward, so orientation errors are visible before foiling or came assembly.
For repeated work, keep one small tray for offcuts larger than 25 mm and another for waste. Very small shards are not useful near a bench where hands move quickly. Sweep or vacuum the surface after every 10 to 20 cuts, not only at the end of the session.
Working dimensions and tolerances
Most beginner cutting errors come from using the printed line as a vague target. Treat every line as having thickness. If the line is 0.5 mm wide, decide whether the glass edge should finish on the center of that line, just inside it, or just outside it. Use the same rule for the whole panel.
For copper foil work, a practical gap between neighboring glass edges is usually about 0.5 mm to 1.0 mm before foiling. A gap below that can leave no room for foil thickness and solder. A gap above 1.5 mm may still solder, but it produces a wider, heavier seam and can distort small details.
For lead came work, the glass must fit the heart of the came, not the outside width. The cutting margin on a came pattern is there for this reason. If you cut to the visible finished outline instead of the reduced glass outline, the panel grows and the joints will not close. For related fitting questions, see the FAQ.
| Item to check | Useful figure | What it means at the bench |
|---|---|---|
| Normal cutting line error | 0.5 mm | Small enough for most foil seams if it is consistent. |
| Visible poor fit | 2 mm or more | Usually needs recutting or redesigning the nearby joint. |
| Minimum safe narrow point | About 8 mm to 10 mm | Thinner glass points break easily during grinding and foiling. |
| Grinding session length | 10 to 15 minutes | Stop and rinse pieces before glass sludge hides the line. |
| Bench cleanup interval | Every 10 to 20 cuts | Reduces scratches and false pressure under the glass. |
Frequent mistakes and recovery
A white, gritty score is usually too much pressure. A missing section in the score is usually a pause, a dirty wheel, or a bump under the sheet. Do not score the same line twice. A second score rarely follows the first exactly, and the glass may choose either path when pressure is applied.
If the break runs away from the line, stop using force. Save the piece if the missing area is outside the final shape and can be ground back safely. If the break enters the visible piece by more than 1 mm on a simple shape, recut it. On a complex shape, place it back on the pattern and check whether the surrounding seams can absorb the error without changing the design.
When a piece is slightly too large, grind from the longest offending edge first, then test fit again. Do not grind one corner hard unless the pattern actually asks for that corner to move. When a piece is too small, do not try to hide every error with solder. A single gap may be acceptable, but a series of small undersized pieces changes the whole panel.
Foil that will not stick usually means dust, oil, water, or cold glass. Wash and dry the piece, then wait a few minutes before refoiling. If foil lifts at a tight inside curve, cut a shorter section of foil for that curve rather than pulling one long strip under tension.
Special cases that need different handling
Inside curves need relief cuts. Make several shallow cuts from the waste side toward the curve, stopping short of the final line, then remove the waste in small bites. Trying to break a deep inside curve in one movement often cracks across the wanted area.
Textured glass should usually be scored on the smoother side. If both faces are uneven, support the sheet well and use steady pressure. The score must be continuous, but the cutter will feel less smooth than on flat glass. Mirror glass, flashed glass, and coated glass may have a face that should not be scratched, so mark a test offcut before committing to the pattern piece.
Long thin pieces need special care. If a strip is longer than about 150 mm and narrower than 15 mm, cut it with extra glass on both sides when possible, then trim it to width. During grinding, hold it near the head with light pressure. Pushing at the far end turns the strip into a lever and can snap it.
Very small pieces are often easier to cut oversized and grind to the line. This is slower, but it keeps fingers farther from the cutter path and gives more control. If a pattern has many small points, read the fitting notes in the FAQ before changing foil width, came size, or seam placement.
Read next
- Your files: Access your purchased pattern downloads here.
- How much glass do I need? A per-color calculator: Calculate how much glass you need per color for any panel size, with a 15 percent waste allowance built in, plus the formula behind the number.
- How to size a pattern to fit your panel opening: How to pick the right panel width for a stained glass pattern: measuring your opening, checking a pattern's size range, and rerunning checks per size.